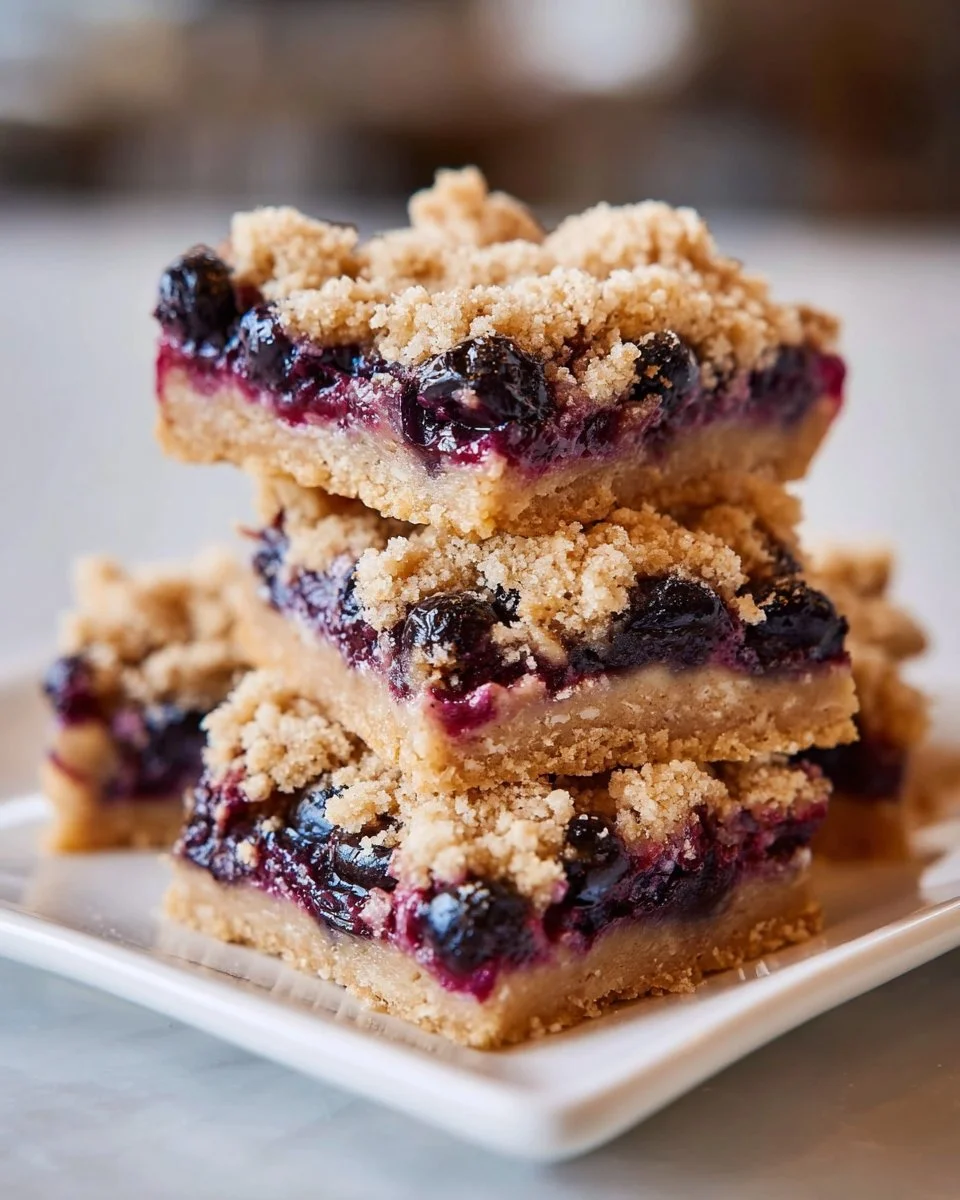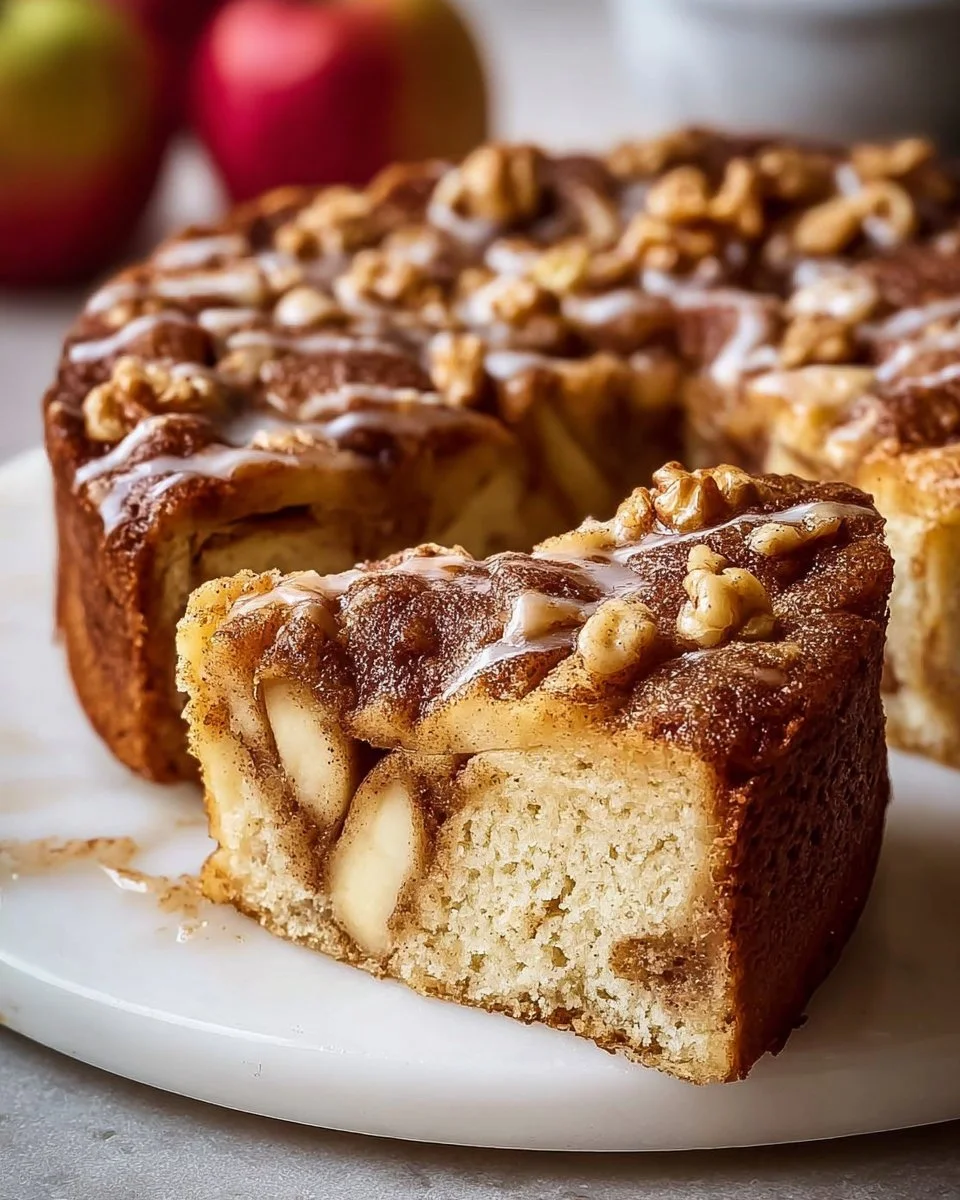
The aroma wafts through the air like a warm hug, wrapping you in the comforting scent of melted chocolate and buttery goodness. You stand in the kitchen, captivated by the rich, enticing fragrance of freshly baked treats, your mouth watering with anticipation. As you take a moment, your eyes dance over the golden-brown layers of gooey brownie and luscious cookie dough—two beloved desserts entwined in perfect harmony. Welcome to the magical world of Brookies, where chewy brownie meets soft-baked cookie in an unforgettable union.
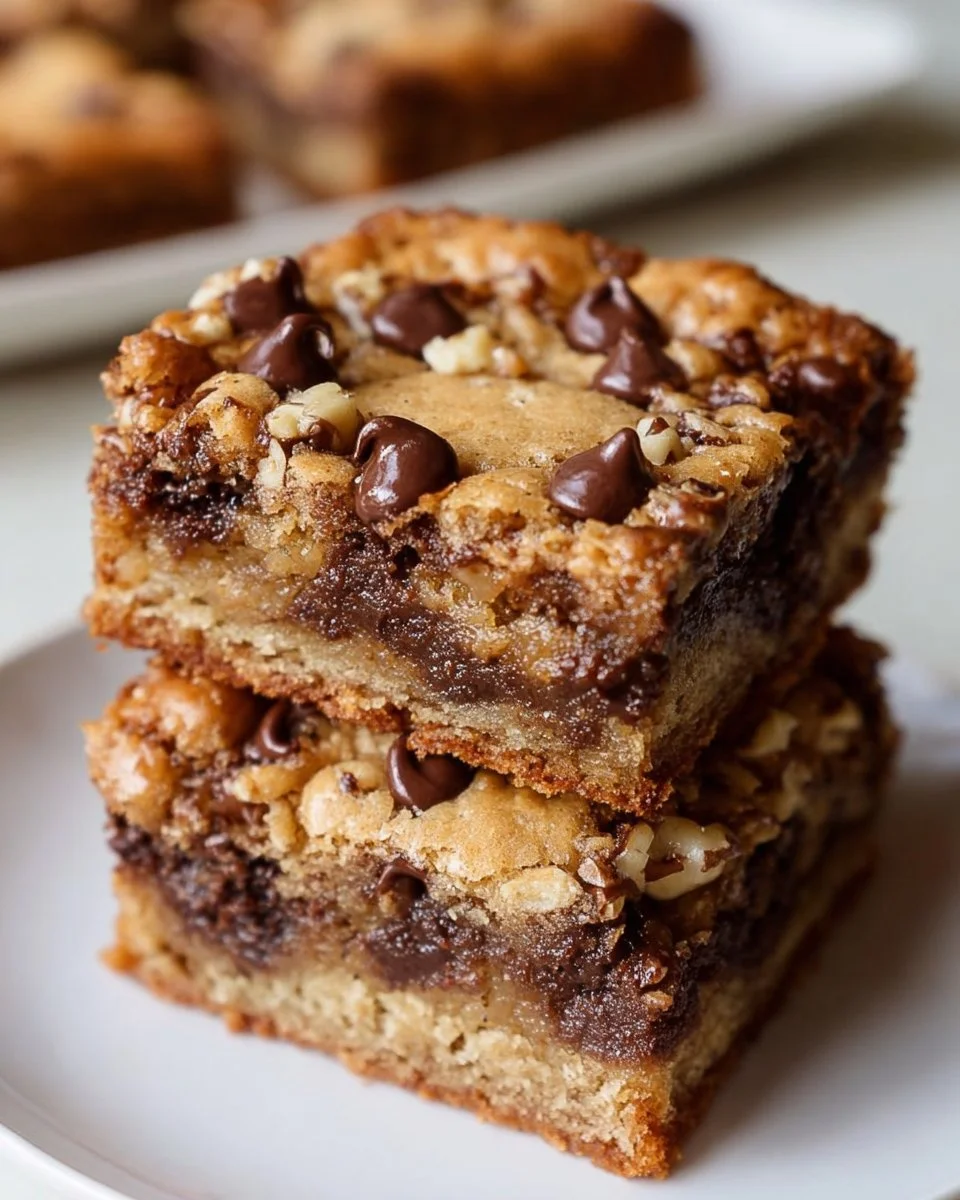
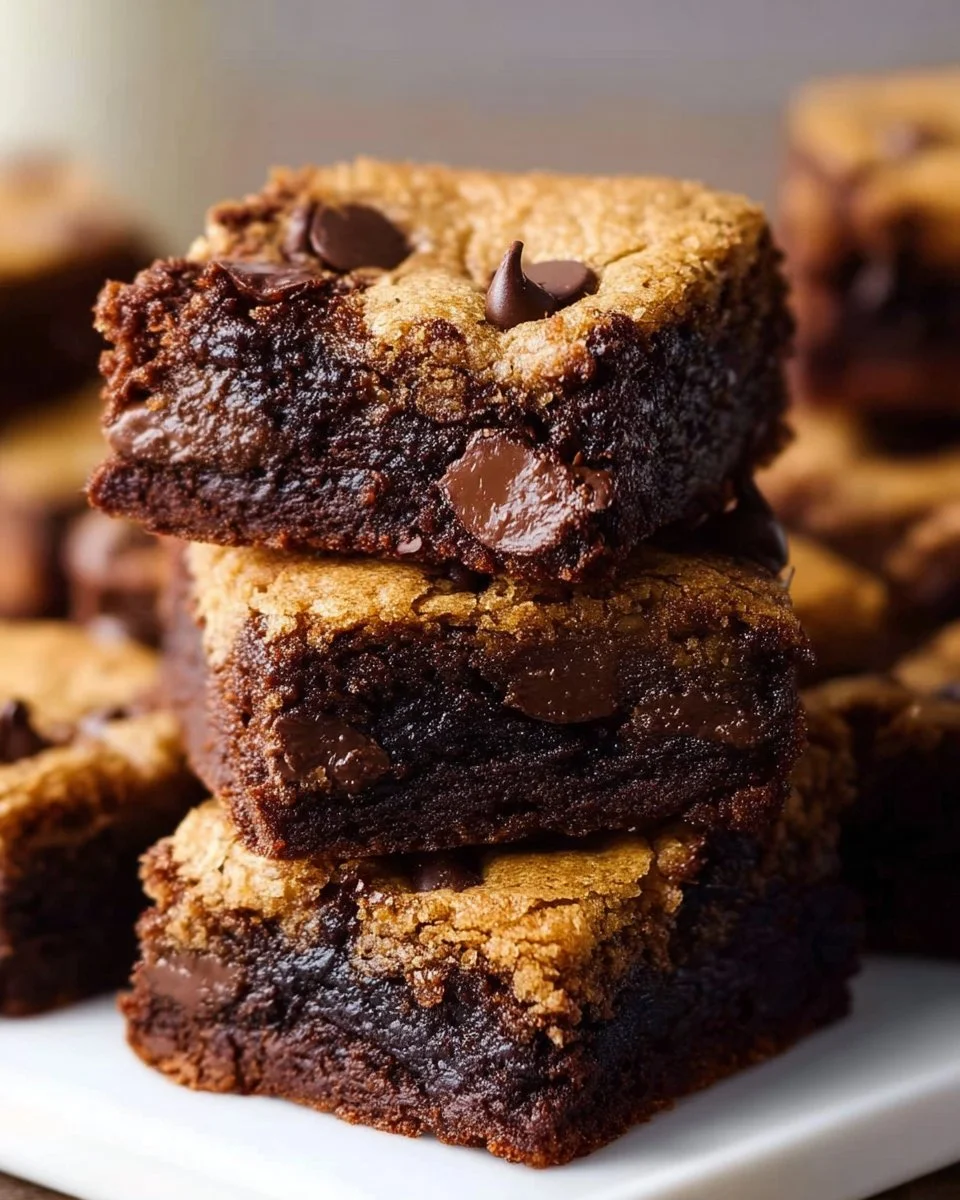
Now, imagine sinking your teeth into the warm, decadent layers. The brownie base boasts a fudgy, soft core, almost melting on your tongue, while the cookie layer offers a delightful crunch alongside the melty pockets of chocolate chips. Each bite ignites your taste buds in a joyous symphony, showcasing the best of both worlds—an irresistible combination of textures and flavors that leaves you craving more. Celebrations, quiet evenings at home, or just a well-deserved treat after a long day, Brookies elevate any moment, turning the ordinary into something spectacular.
Why You’ll Love This Brookies
These delightful confections are not just desserts—they’re an experience, a celebration of every sweet-toothed fantasy. Indulging in a Brookie is about embracing the soft and gooey nature of a warm brownie intertwined with the comforting familiarity of a classic cookie. Envision digging into a rich, chocolatey bliss that’s complemented by the hint of vanilla sweetness, all in one irresistible bite.
Perfect for gatherings or simply satisfying midnight cravings, Brookies embody versatility. They make a stunning centerpiece for birthdays, family get-togethers, or even cozy movie nights. With their eye-catching layers, they invite guests to share in your excitement, sparking joyful conversations over sweet nostalgia. And don’t forget the wow factor—they stand apart from the usual brownies or cookies, almost demanding to be celebrated.
Preparation Phase & Tools to Use
Before diving into the delicious creation of Brookies, you’ll want to gather a few essential tools. Each one plays a crucial role in achieving that mouthwatering treat that keeps everyone coming back for seconds.
-
Mixing Bowls: Invest in sturdy mixing bowls, ideally one large and one medium-sized. They will be your best friends when it comes to mixing your batters separately.
-
Electric Mixer: Whether you choose a hand mixer or a stand mixer, this tool will whip your batter to fluffy perfection effortlessly. It saves time and keeps your arms from straining.
-
Spatula: A rubber spatula will help you gently fold ingredients without deflating your mixture, ensuring even distribution for that perfect texture.
-
Measuring Cups and Spoons: Precision is vital when baking. Make sure to have a reliable set handy to measure out all your ingredients accurately.
-
9×13-Inch Baking Pan: This size ensures your Brookies bake evenly, creating the ideal texture without burning the edges.
Preparation Tips
-
Read Through the Recipe First: Familiarize yourself with each step before you begin. Knowing the flow guarantees a smooth cooking experience.
-
Melt Your Butter: As you work with the butter for both layers, gently melt it for the brownie layer while softening for the cookie layer to ensure optimal creaminess.
Ingredients for Brookies
Gathering the right ingredients makes all the difference in achieving beautifully layered Brookies. Here’s what you need:
- 1 cup unsalted butter: Rich and creamy butter provides the base for both layers, offering delicious flavor and moisture.
- 1 cup granulated sugar: This adds sweetness and creates that delightful chewy texture.
- 1 cup brown sugar: Brown sugar brings depth with its molasses notes, enhancing the overall richness.
- 4 large eggs: Eggs help bind everything together, yielding a tender crumb in the brownie layer.
- 2 cups all-purpose flour: A key ingredient for structure, flour allows your Brookies to hold their shape.
- 1 cup cocoa powder: Unsweetened cocoa provides that crucial chocolate flavor for the brownie layer.
- 1 teaspoon baking powder: This leavening agent ensures a light and airy texture in the brownies.
- 1 teaspoon vanilla extract: Vanilla enhances all the flavors, tying everything together harmoniously.
- 1/2 teaspoon salt: A dash of salt balances sweetness and intensifies the chocolate flavor.
- 2 cups chocolate chips: The ultimate chocolate addition that creates pockets of melty goodness throughout.
- 1/2 teaspoon baking soda: This contributes a slightly chewy texture for the cookie layer.
Ingredient Tips
- Instead of unsalted butter, salted butter works too—just omit the extra salt.
- Substitute granulated sugar with coconut sugar for a unique flavor profile and slightly healthier option.
- For a gluten-free variant, use a 1:1 gluten-free flour blend in place of all-purpose flour.
How to Make Brookies
Creating Brookies in your kitchen transcends the act of baking; it becomes a ritual celebrating warmth and indulgence. Follow these step-by-step instructions to make your own delicious Brookies.
-
Preheat your oven to 350°F (175°C). Grease a 9×13-inch baking pan generously to ensure your Brookies release easily after baking.
-
Cream Together the Butters and Sugars. In a mixing bowl, beat 1 cup of unsalted butter, 1 cup of granulated sugar, and 1 cup of brown sugar until the mixture becomes creamy and light in color, approximately 2-3 minutes.
-
Add the Eggs and Vanilla. Incorporate 4 large eggs one at a time, mixing well after each addition. Stir in 1 teaspoon of vanilla extract, allowing the flavors to meld beautifully.
-
Combine Dry Ingredients for the Brownies. In another bowl, whisk together 2 cups of all-purpose flour, 1 cup of cocoa powder, 1 teaspoon of baking powder, and 1/2 teaspoon of salt. Gently fold this into the butter mixture until just combined, avoiding overmixing. Delicately fold in 1 cup of chocolate chips.
-
Spread the Brownie Layer. Using a spatula, spread the brownie batter evenly into the prepared pan, ensuring a smooth, glossy surface.
-
Prepare the Cookie Layer. In a separate bowl, mix 1 cup of brown sugar, 1 cup of all-purpose flour, 1/2 teaspoon of baking soda, and 1/2 teaspoon of salt. Stir in 1/2 cup melted butter until well combined, then fold in the remaining 1 cup of chocolate chips. Spread this sugary delight evenly over the brownie layer, creating a beautiful two-tone masterpiece.
-
Bake to Perfection. Slide your pan into the oven and bake for 30-35 minutes. Check for doneness with a toothpick; it should come out with a few moist crumbs attached. Remove from the oven and let cool in the pan before cutting into squares.
Step Tips
- If you prefer a fudgier brownie texture, underbake by a minute or two.
- Be patient and let the Brookies cool; this helps them set beautifully and makes cutting easier.
Chef’s Notes & Helpful Tips
Creating Brookies can be a fun experience, and with a few insider tips, you can elevate your baking game even further.
-
Make-Ahead: Prepare the brownie and cookie dough ahead of time. Chill them in the fridge overnight, allowing flavors to deepen, making your baking day that much easier.
-
Cooking Alternatives: If you’re short on time, use an air fryer! Just remember to reduce the baking time slightly to avoid overcooking. Start with 20-25 minutes and check for doneness.
-
Customization Ideas: Add a swirl of peanut butter or Nutella to the brownie layer for a delicious twist. Alternatively, toss in nuts for a delightful crunch.
Common Mistakes to Avoid
Baking is an art, and unfortunately, even the best can make mistakes. Avoid these pitfalls to ensure your Brookies turn out perfectly:
-
Overmixing the Batter: Too much mixing develops gluten, creating a dense texture instead of the desired fudgy consistency. Mix until ingredients are just combined.
-
Incorrect Oven Temperature: Oven temperatures can often be misleading. Using an oven thermometer can help ensure that your baked goods are cooking at the correct temperature.
-
Not Allowing to Cool: Tempting as it may be to dig in right away, allowing the Brookies to cool for at least 30 minutes helps them firm up and makes cutting easier.
What to Serve With Brookies
Brookies shine alone, but pairing them with delightful accompaniments can elevate your dessert experience to a whole new level. Consider serving them with:
- Vanilla Ice Cream: The cool creaminess paired with warm Brookies is pure bliss.
- Whipped Cream: Light and airy, whipped cream adds a touch of elegance and a signature flourish.
- Fresh Berries: The tartness of raspberries or strawberries balances the sweetness beautifully.
- Espresso or Coffee: The deep flavors of coffee enhance chocolate, creating a sophisticated pairing.
- Caramel Sauce: Drizzling warm caramel adds a luxurious touch that complements the flavors perfectly.
- Milk: A classic companion that feels nostalgic and comforting.
Storage & Reheating Instructions
To enjoy your Brookies for days to come, proper storage is essential:
-
In the Fridge: Store in an airtight container for up to a week. The refrigerator maintains their freshness and flavor.
-
In the Freezer: Freeze cut squares in freezer-safe bags for up to 3 months. Thaw at room temperature or warm briefly in the microwave.
-
Reheating: For that just-baked feel, microwave individual squares for 15-20 seconds, or warm them in the oven at 350°F for 5 minutes.
Estimated Nutrition Information
Nutritional values for one Brookie (based on dividing the recipe into 16 squares):
- Calories: Approximately 300
- Fat: 15g
- Protein: 4g
- Carbohydrates: 45g
- Fiber: 2g
- Sugar: 25g
Please note that these values are estimates and can vary based on specific ingredients used.
FAQs
Can I use dark chocolate cocoa powder?
Absolutely! Dark cocoa powder will add a deeper chocolate flavor to your Brookies, giving them a more intense taste.
What’s the best way to cut Brookies?
Using a sharp knife works wonders. For cleaner cuts, warm the knife under hot water and dry it off before slicing through the firm yet gooey layers.
Can Brookies be made gluten-free?
Yes! Replace all-purpose flour with your favorite gluten-free flour blend. The Brookies will still taste delightful and decadent.
How do I prevent the cookie layer from spreading too much?
Chilling the cookie dough for about 30 minutes prior to adding it to the brownie layer can help it maintain its shape during baking.
What can I do with leftover Brookies?
Transform leftover Brookies into an epic sundae! Break them apart and layer them with ice cream, chocolate sauce, and nuts—I promise it’s a delicious paradise.
Conclusion
As you carry a plate of Brookies to the table, watch the faces light up with joy as friends and family indulge in these layered delights. Each bite delivers enjoyment, encapsulating the magic of combining two beloved desserts into one. Join the fun and embrace the art of creation; you won’t just make a dessert; you’ll create memories. So, grab your ingredients and your mixing bowl, and start baking. Your taste buds will thank you!
Print
Brookies
- Prep Time: 20 minutes
- Cook Time: 35 minutes
- Total Time: 55 minutes
- Yield: 16 servings 1x
- Category: Dessert
- Method: Baking
- Cuisine: American
- Diet: Vegetarian
Description
A delightful union of chewy brownie and soft-baked cookie, Brookies elevate any occasion with their rich texture and irresistible flavor.
Ingredients
- 1 cup unsalted butter
- 1 cup granulated sugar
- 1 cup brown sugar
- 4 large eggs
- 2 cups all-purpose flour
- 1 cup cocoa powder
- 1 teaspoon baking powder
- 1 teaspoon vanilla extract
- 1/2 teaspoon salt
- 2 cups chocolate chips
- 1/2 teaspoon baking soda
Instructions
- Preheat your oven to 350°F (175°C). Grease a 9×13-inch baking pan generously.
- Cream together the butters and sugars in a mixing bowl until creamy and light in color, approximately 2-3 minutes.
- Add the eggs one at a time, mixing well after each addition. Stir in the vanilla extract.
- Combine the dry ingredients for the brownies in another bowl and fold them into the butter mixture until just combined.
- Spread the brownie batter evenly into the prepared pan.
- Prepare the cookie layer by mixing together the brown sugar, flour, baking soda, and salt. Stir in melted butter and fold in the remaining chocolate chips.
- Spread the cookie layer over the brownie layer evenly.
- Bake for 30-35 minutes, checking for doneness with a toothpick.
- Let cool in the pan before cutting into squares.
Notes
For a fudgier texture, underbake by a minute or two. Chill dough overnight for deeper flavors.
Nutrition
- Serving Size: 1 square
- Calories: 300
- Sugar: 25g
- Sodium: 150mg
- Fat: 15g
- Saturated Fat: 9g
- Unsaturated Fat: 6g
- Trans Fat: 0g
- Carbohydrates: 45g
- Fiber: 2g
- Protein: 4g
- Cholesterol: 80mg